Copyright Archi Systems AS. All Rights Reserved.
Installation/Uninstallation
Install instructions
- Run the supplied installer
- Introduce the serial number in case you have a license
- Confirm the installation settings
- The plugin is now available to run inside Revit.
Uninstall instructions
- Close all Revit sessions.
- Run the uninstaller from the installation directory or from the shortcut in the windows program menu.
- Confirm the uninstallation
- The program is then uninstalled.
General Usage Instructions
Normal Usage
1 - Browse and load the Lidar point cloud. Both uncompressed (.LAS) and compressed (.LAZ) Lidar files are supported. If you are using the trial version, press the Load Demo Topography button.
2 - Once loaded the Lidar file properties are displayed. Those properties include the coordinates of the point cloud edges, the number of points, the year the scan was taken and the density of the terrain points.

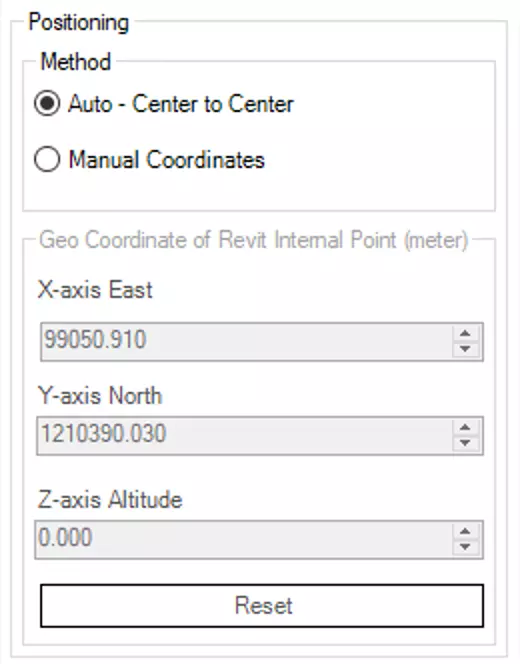
3 - Select the desired positioning of the point cloud over the Revit internal point. Use manual coordinates for positioning the cloud with the coordinate that corresponds to the Revit internal point. The manual coordinate shall not be more than 10 kilometers outside from the edge of the cloud to prevent Revit limitations of geometry too far away from teh origin.

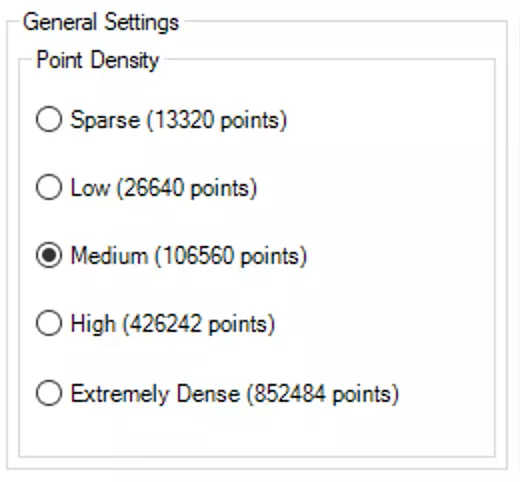
4 - Select the detail level / point density. Bear in mind that the Revit generation of topography from points is relatively slow process if the number of points exceeds 100 000 points. It may take minutes to hours depending of your hardware. Usually a Medium and High settings produces good results.

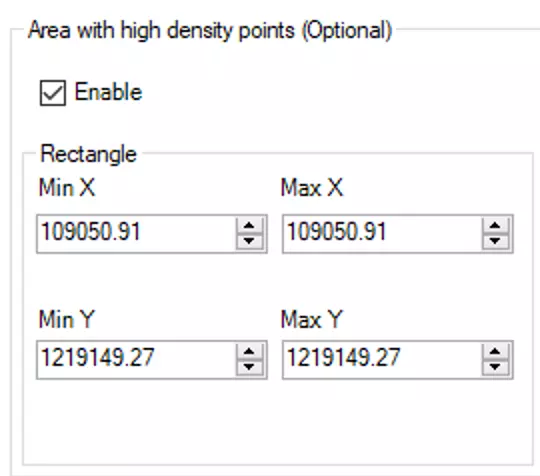
5 - To optimize the performance of the topography creation and usage in Revit it is wise to use as low ammount of points as required. If one wants to create a large area with surroundings and a smaller site in the center, it is possible to create the surroundins with a Low density and an area for our project high high density point by enabling the checkbox under and settings the rectangle with the relevant coordinates.

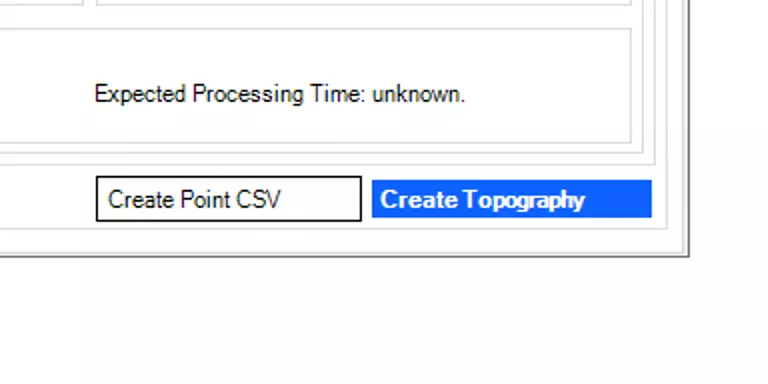
6 - Finally, ensure that you have a Revit project open and press the create topography button to create the Topography

File Compatibility
The program supports Lidar point clouds, both uncompressed (.LAS) and compressed (.LAZ) formats. By default the expected units of the Lidar point cloud is expected to be in meters.
