Copyright Archigrafix. All Rights Reserved.
Installation/Uninstallation
Install instructions
- Run the supplied installer
- Introduce the serial number in case you have a license
- Confirm the installation settings
- The plugin is now available to run inside Revit.
Uninstall instructions
- Close all Revit sessions.
- Run the uninstaller from the installation directory or from the shortcut in the windows program menu.
- Confirm the uninstallation
- The program is then uninstalled.
General Usage Instructions
Normal Usage
- Select Wall Type Function
- Filter with Usage and Mark
- Define the filename
- Press the PDF button
Auto save settings
The schedule settings, including page format, font, language, are automatically saved after an export, preview or dialog close. This enables the user to quickly generate a new report with the previously saved settings.
Adjusting the Report
Adjusting the page settings
The tab Pages allows to define the paper size, the orientation, margins, and the define the apearence of the heade and footer.
Fonts and borders
The tab Style allows to define the the size of the different headings, the thickness of the cell borders and adjust the vertical space between the cells.
The choice of the text size needs to e considered with the paper size where the Report is being printed. We often keep the text in the cells in relative small size. Please try adjusting the vertical spacing (text padding) to fit more or less rows in your pages.
Language of the report header
There is a pre-set of languages in the tab language. Choose the Language in the dropdown. You can customize further the exact words used in the report in the tab Heeaders.
Headers
In the Headers tab one selects the words used n the Report in the Wall Properties and Theoretical Capacity Section. Additionally one maps the following Revit wall type parameters (number or text)
- Maximum Height
- Sound Class
- Fire Class
- Stud Centres
Wall Type Drawings
The program generates the plans for the wall types in two modes: draft and high quality. The draft mode is the default mode and does not require any special setup. For generating high quality representation of the wall, that match your Revit plans, one needs to follow these steps:
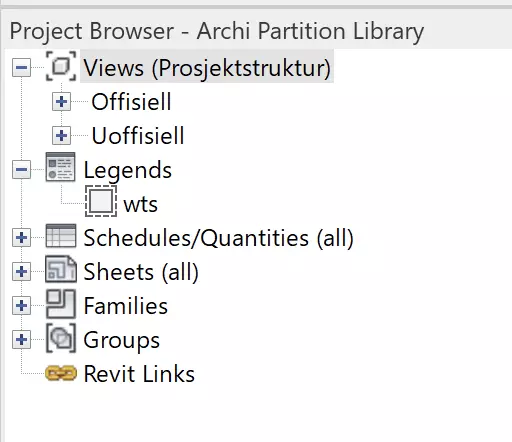
1 Create Legend View - Create a Legend view called wts. The view shall be in Fine mode, and on the scale 1:5.

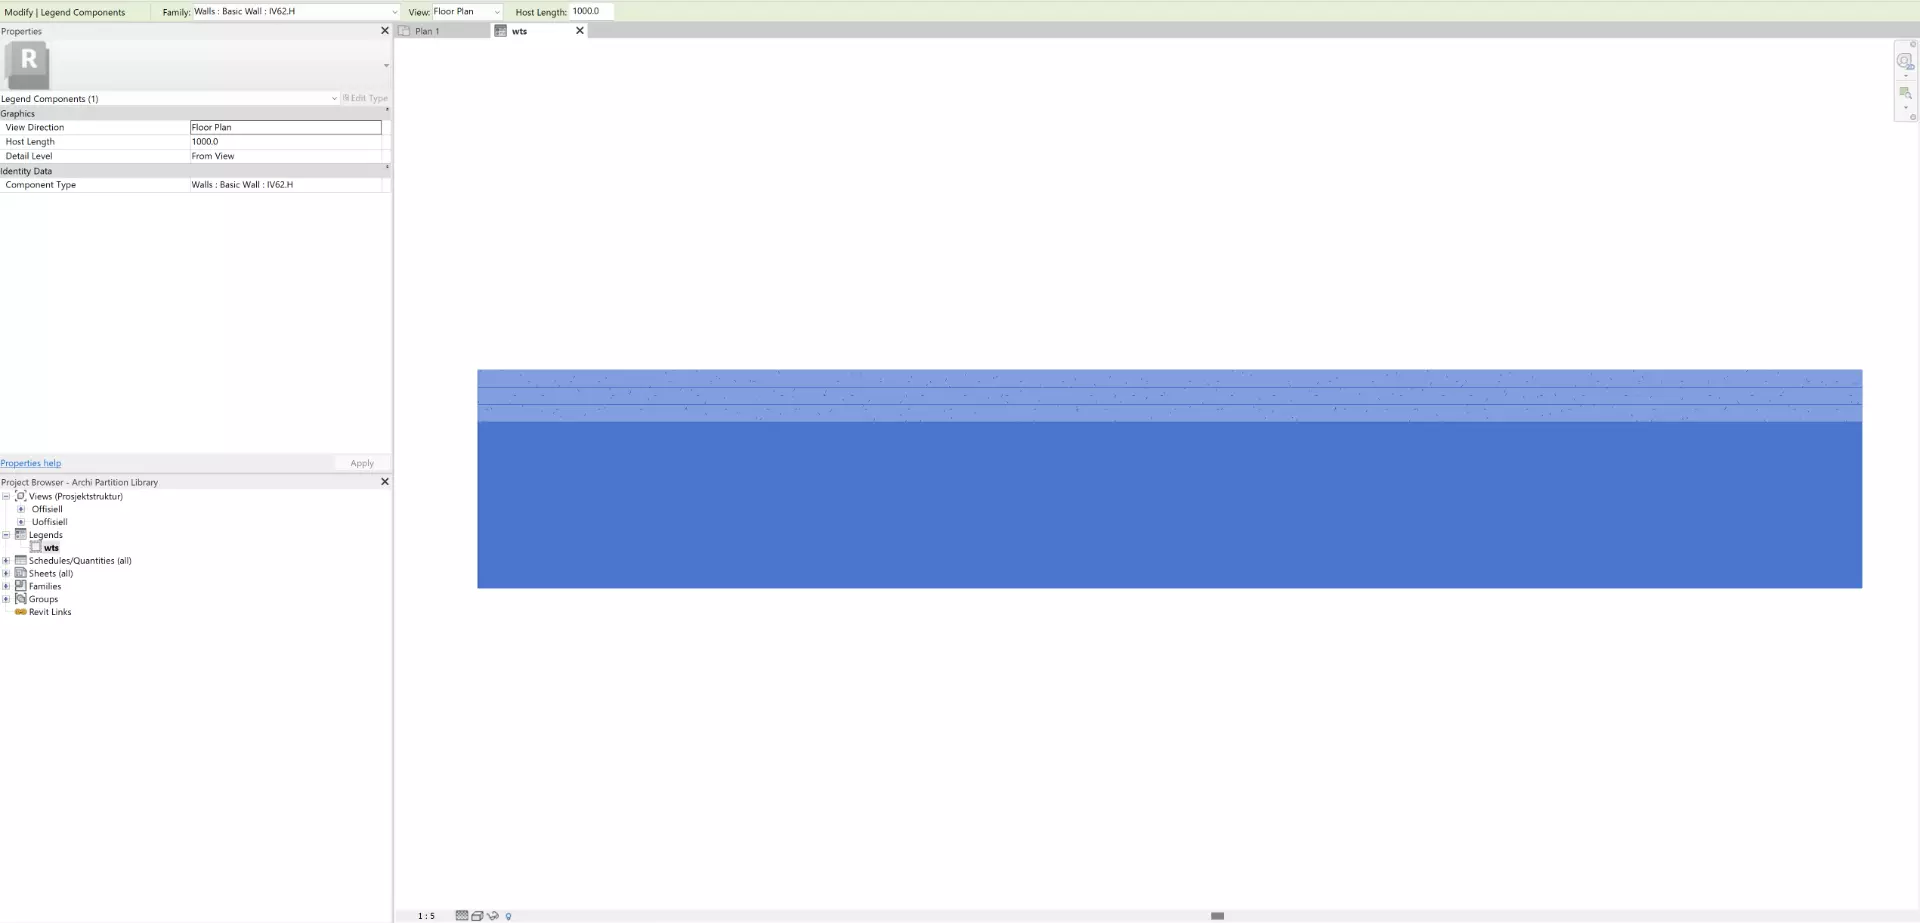
2 - Place a wall component. Open the Anotate tab in Revit and place 1 Basic Wall Component in plan, with 1000mm of length in the Legend View wps

3 - Enable Hight Quality. Open Wall Type Schedule and in the Headers tab select the high quality radio button to activate this mode.
