How to use the Autodesk Parameter Service in Revit

Welcome to second article of three, where we cover the new Parameter Service in the context of Revit. In the previous article we provided you a step by step tutorial on how to enable the Parameter Service. In this article we go in depth explaining the access rights of the Parameter Service for the difference Autodesk Construction Cloud users. We will then cover the creation and loading of parameters from the service into Revit in step-by-step tutorial. So I hope this tutorial will give you the necessary information to use the service with your project.
What are the Parameters Service Access Rights?
All users will be able to load parameters into Revit and Search for Parameters. Project Admininistrators and Account admininstrators can in addition Create and Edit Parameters.
While only Account admins are the only group that can Access the Parameter Service from the Autodesk Construction Cloud.
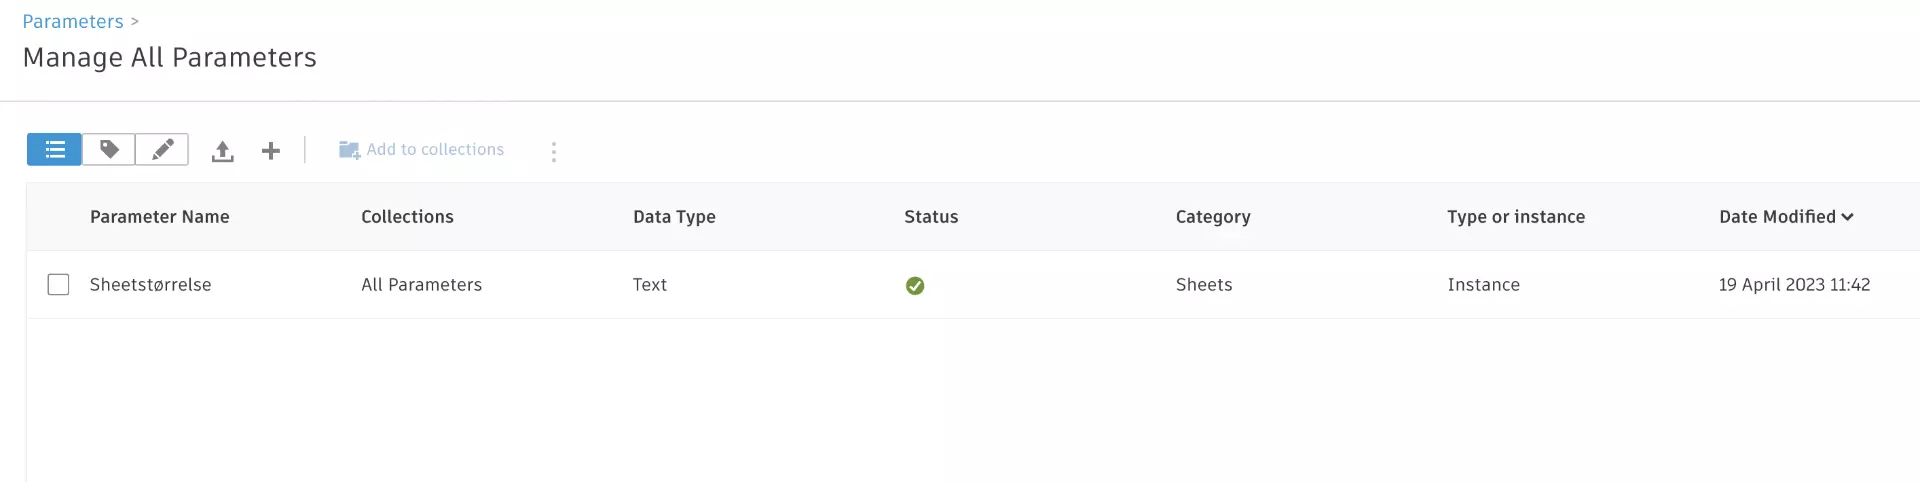
Back in Revit you can see the difference in access levels when launching the service in Revit. Admins launching the service from the ribbon will b ein "manage mode" similar to how selecting the
shared parameters button only allows you to manage your shared parameters but not load them into the project. In that windows, your admins can add or edit parameters in the service, set up
saved searches, label parameters, everything you need to do to manage your parameter definitions.
A project member launching the service from here will only be able to explore the service. They cannot create or edit parameters.
How to create parameters in the Autodesk Parameters Service manually?
Only Account Admins and Project Admins can create or edit parameter in the service. Account members can only browser parameters in the service and load them into projects.
First you can manually create your parameters.
1 - Create a new parameter. To do this log into the parameter service as an admin, and select the plus icon.
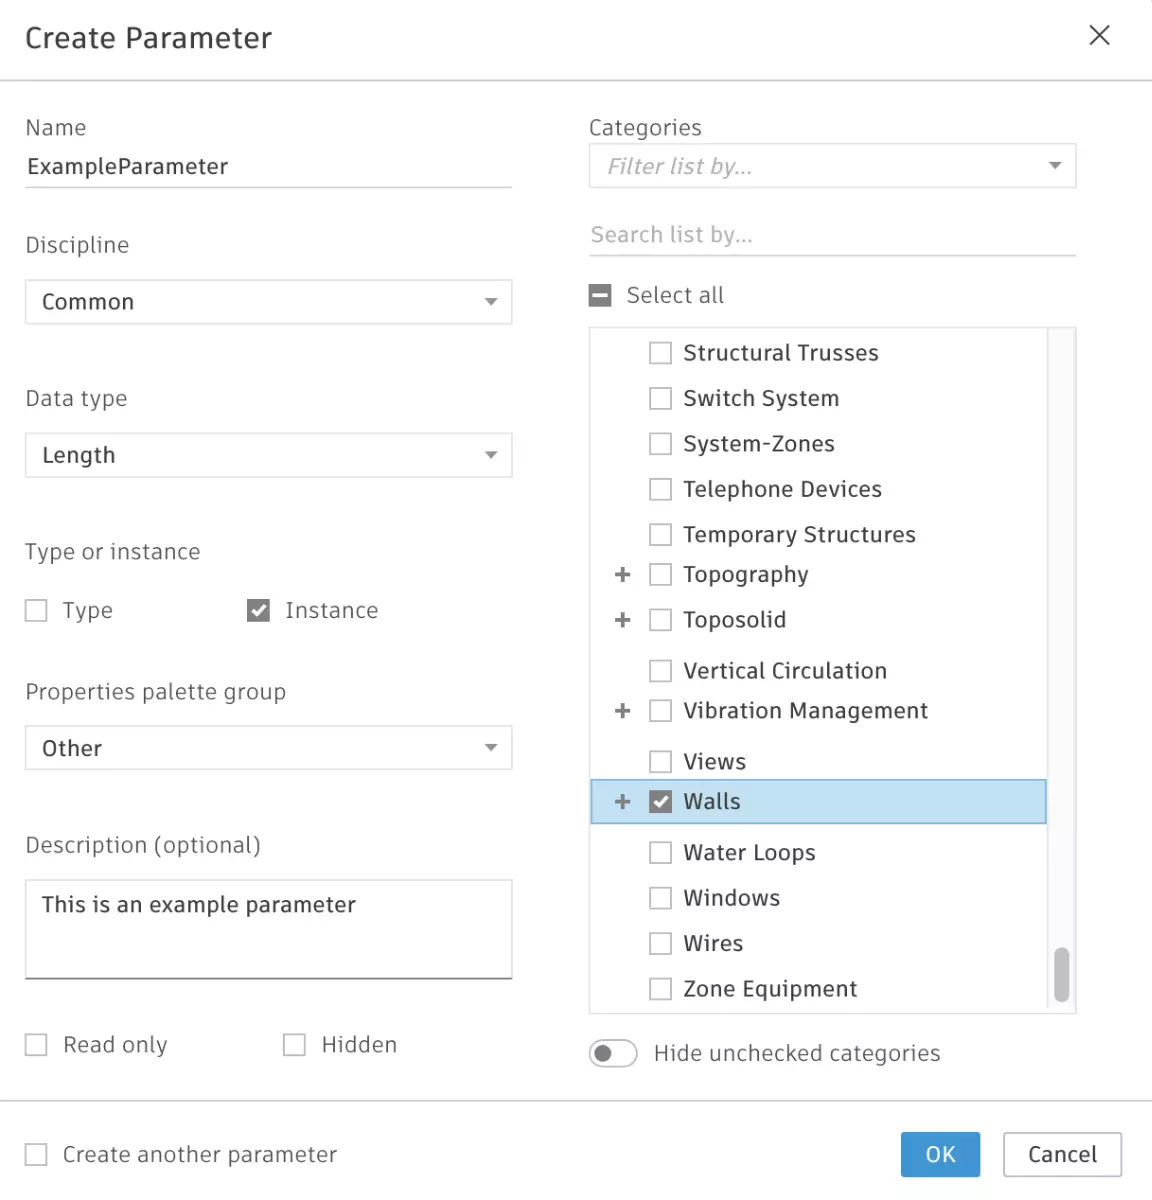
2 - Fill The Parameter Details. Here we are presented with a dialog with the possible data you can attach to a parameter.
To create a parameter you only need to provide a name, data type and properties palette group. The default properties palette group is "other". However, the power of the service is that you can set more data for your parameters.
Taking a close look at this dialog, you can specify if a parameter should be type or instance based. You can add a description for your parameters, and we suggest you do. You can set if a parameter should be read-only, or hidden.
Category bindings can also be set for your parameters. You can check the option to Create another parameter, to create a parameter one after the other.
How to load parameters from Parameters Service into Revit?
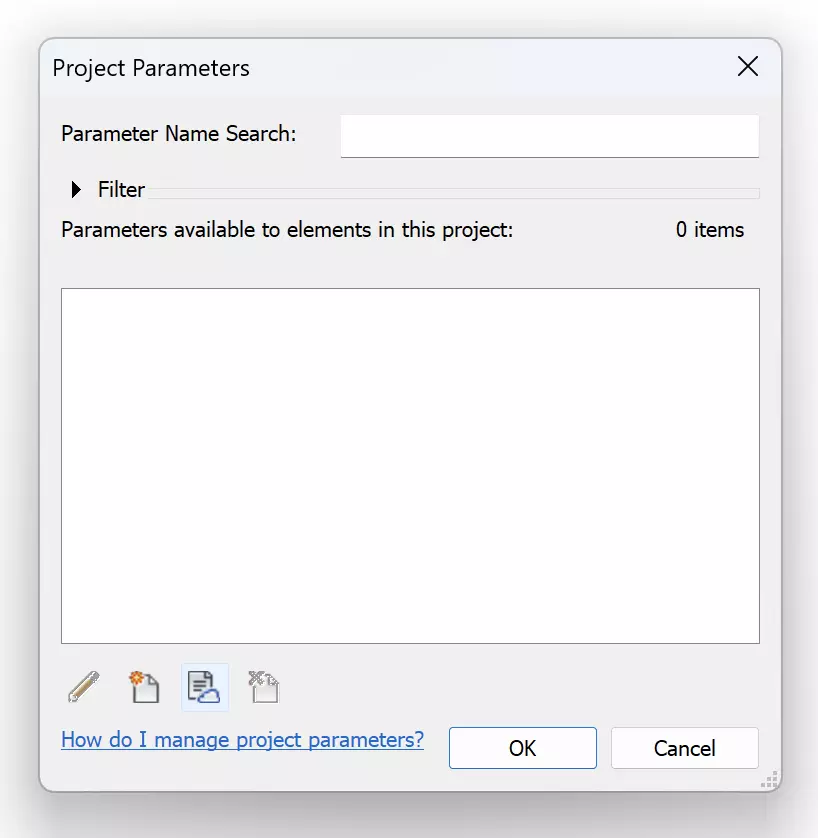
To load parameters into your Revit project or family from the service, simply look anywhere where shared parameters are added to your project and look for the new "Add Parameters From Service" button. Remember to use the latest version of Revit 2023 or a newer version of Revit, or you may find that the service is not yet implemented in the program.
1 - Open Project Parameters. Starting with Project Parameters in Revit, lets launch the service.
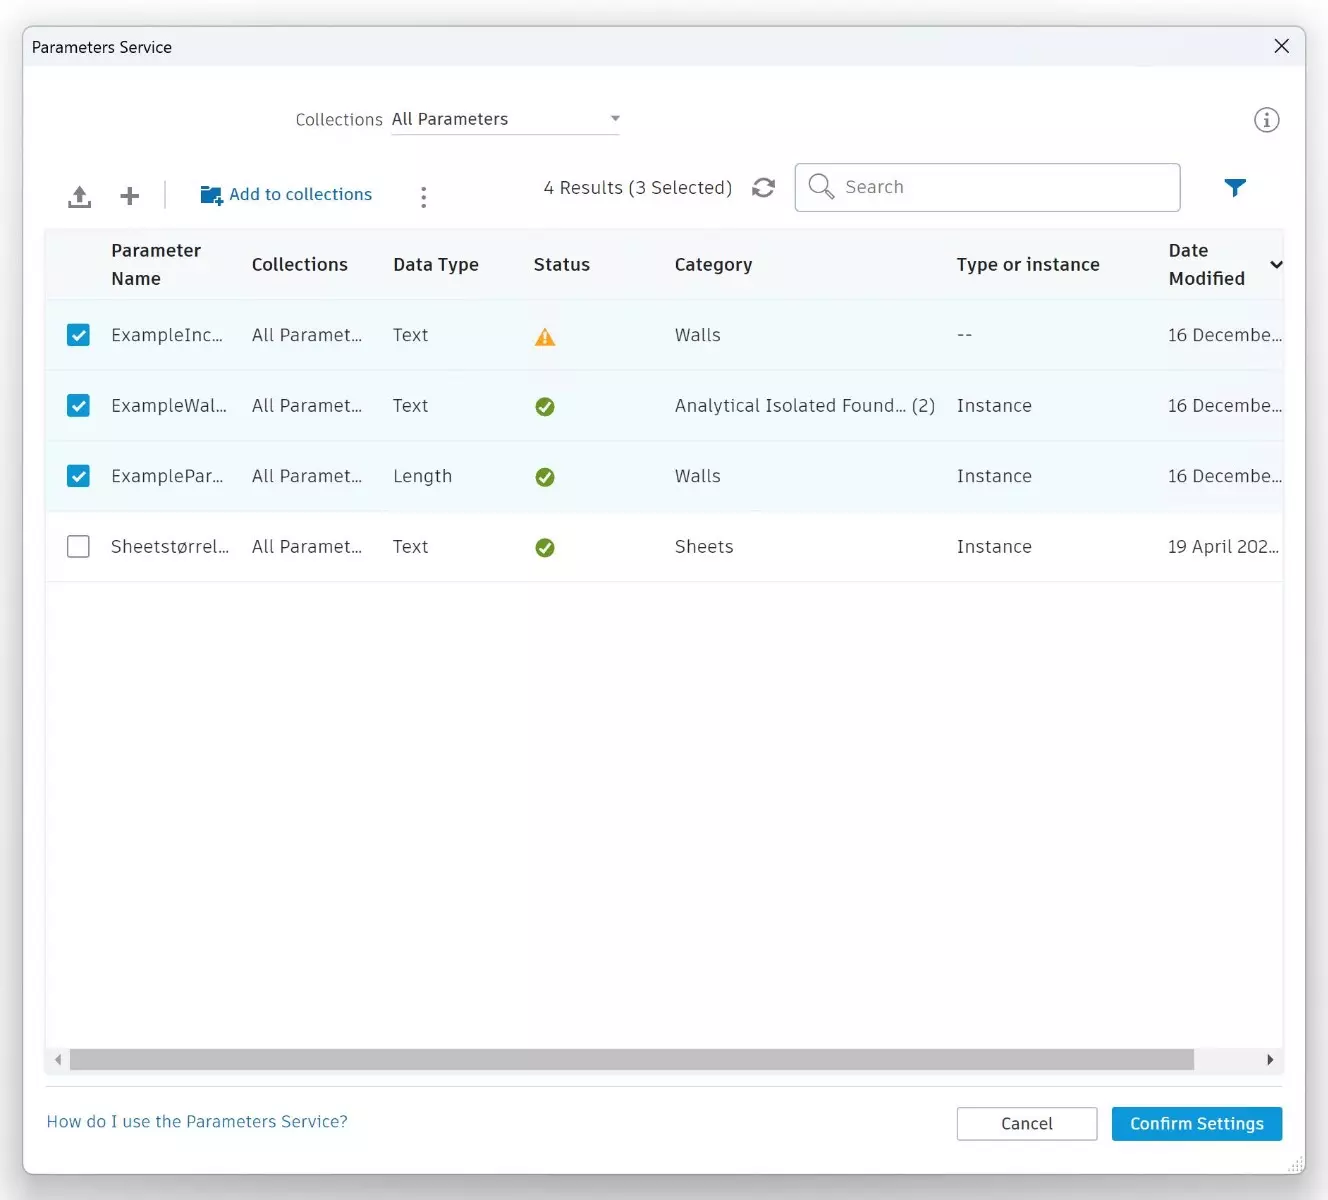
2 - Select Parameters and Confirm Settings. Looking at the status column, you can see that the parameters in your collection are in one of the three states: Ready, In model, or Missing Data.
Ready means that you can add the parameter directly to your model. In-model means this parameter is already loaded into the active project or family. Missing that: this will include a tooltip for what data needs to be included.
While this data isn't required for the parameters to live in the service, you must specify a value when loading into Revit. This data is the same for any shared parameter; you will need to select type vs instance, what categories it belongs to, and what properties palette group you want it to display in.
Note: you may see a difference in the status for a parameter when loading into a family, as the category does not need to be set.
After selecting the parameters one wants, one hit "Confirm Settings." That page will let override defaults on parameters and specify any missing data before loading into Revit. Any changes on that page are not saved to the service; they apply for this download. Once I set the missing values, the "Add to Revit Model" button becomes active. Once one clicks the button, the parameters are loaded into Revit. Loading a few dozen Parameters takes just a few seconds.
Last Words
As we conclude this second article in our series, we invite you to delve deeper into the Autodesk Parameter Service's capabilities. Our last article called How to migrate parameters into the Parameter Service will provide further insights is tailored for BIM managers, will explore the migration of parameters from shared files and Revit templates or projects.
We also encourage you to experience the efficiency of parameter management firsthand with a 7-day free trial of Database Editor. Discover how it seamlessly integrates with Revit 2023, simplifying and streamlining your workflow.
Join us as we continue our journey through the Autodesk Parameter Service, unlocking new ways to enhance your Revit experience. Stay tuned for more insights and practical tips in our next articles.

