How to Batch Export Schedules in Revit

Hello, Revit enthusiasts! Welcome to a world where productivity is our primary language. As an architect or engineer, Autodesk's Revit is undoubtedly your trusty partner in creating stunning 3D models and intricate architectural designs. However, have you ever wished that Revit had a magical button that could export all your schedules in one go? If you nodded yes, this tutorial is your magic lamp.
Regrettably, Revit itself doesn't provide the feature to batch export schedules. While you can painstakingly export each document one by one, when dealing with numerous schedules, like Room Schedules, Door Schedules, Equipment Schedules or Mechanical Equipment Schedules, this can become an agonizingly long process. And this is where the concept of batch exporting can be a game-changer for you.
Batch exporting not only spares you from the repetitive and tedious process of exporting individual schedules, but it also saves time, enabling you to be more efficient and productive. Sounds incredible, right?
Enter Reports: Your Tool for Batch Exporting in Revit
We're thrilled to introduce Reports, a phenomenal plugin for Revit that can make your productivity skyrocket. The Reports plugin simplifies the whole process and allows you to batch export all your schedules in a single swoop, directly to your preferred output format - PDF files, Excel files, Word Documents, or even paper prints. It's like having a productivity-enhancing magic wand!
Here's how you can use this powerful tool:
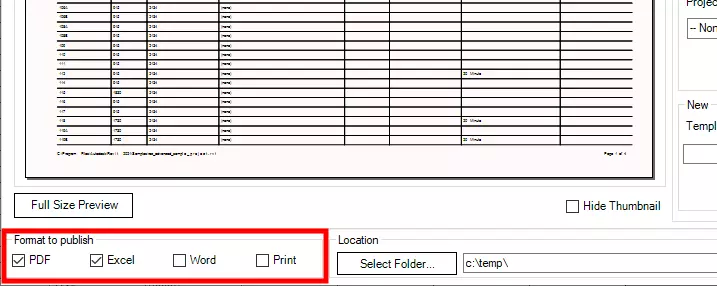
1. Choose Your Format: Start by choosing your desired output format. This could be a PDF file if you need a printable format, an Excel file for further data analysis, a Word document for a report, or a paper print for immediate use.

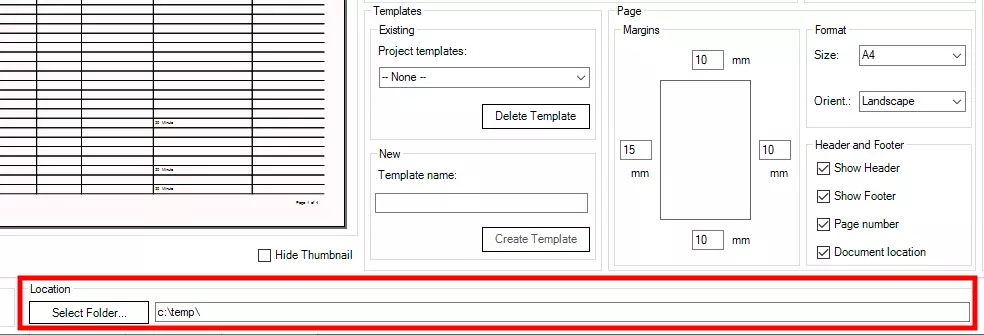
2. Select the Save Location: After deciding the format, the next step is to select where you'd like to save your exported schedules. You can select any location on your computer or network that aligns with your workflow.

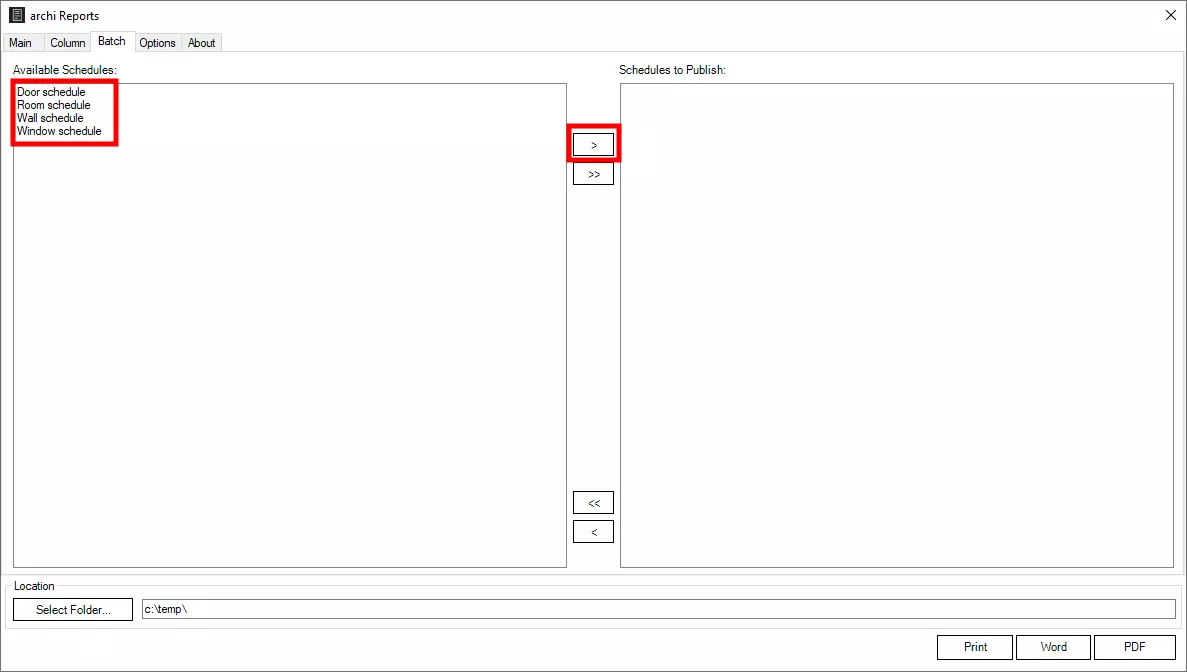
3. Select the Schedules: You're now ready to select the schedules you want to export. It could be a comprehensive Room Schedule that includes area, finish, and furniture details, a detailed Door Schedule outlining the dimensions, material, and hardware, or a Mechanical Equipment Schedule showcasing the equipment's parameters and location. You can choose one, multiple, or even all the schedules in your project.

4. Click Publish: Finally, click the 'Publish' button. Just like that, your selected schedules are batch exported to your chosen format and location. It really is as simple as it sounds!
Final Words
The Reports plugin for Revit is an invaluable tool for professionals dealing with multiple schedules. By increasing your efficiency and saving valuable time, it allows you to focus more on your creative pursuits.
Want to experience this magic for yourself? Try our 7-day free trial available on the product page and watch as your work process transforms!
Remember, every complex task can be simplified, and in this case, the solution is as easy as clicking the 'Publish' button. Here's to designing, creating, and effortlessly managing your schedules with Reports. Happy designing!


